Synapse 3D Exterior Design Process
Design that’s easy and comfortable
Synapse Construction’s 3D design services take the guesswork out of translating your vision to reality. At Synapse we want what you’re picturing in your head to ultimately be what we build for you and get it done without stalls due to misunderstandings along the way.
There’s nothing to lose with our 3D exterior design service. If you use Synapse for construction or not you’ll have the design you’ve been thinking about down on paper and the ability to clearly set your expectations with any contractor. If you do have Synapse do the work you’ll get 50% of your design fee refunded back to you further extending the value of our award-winning design service.
3D Exterior Design Steps
Step 1. – As-Built 3D Model
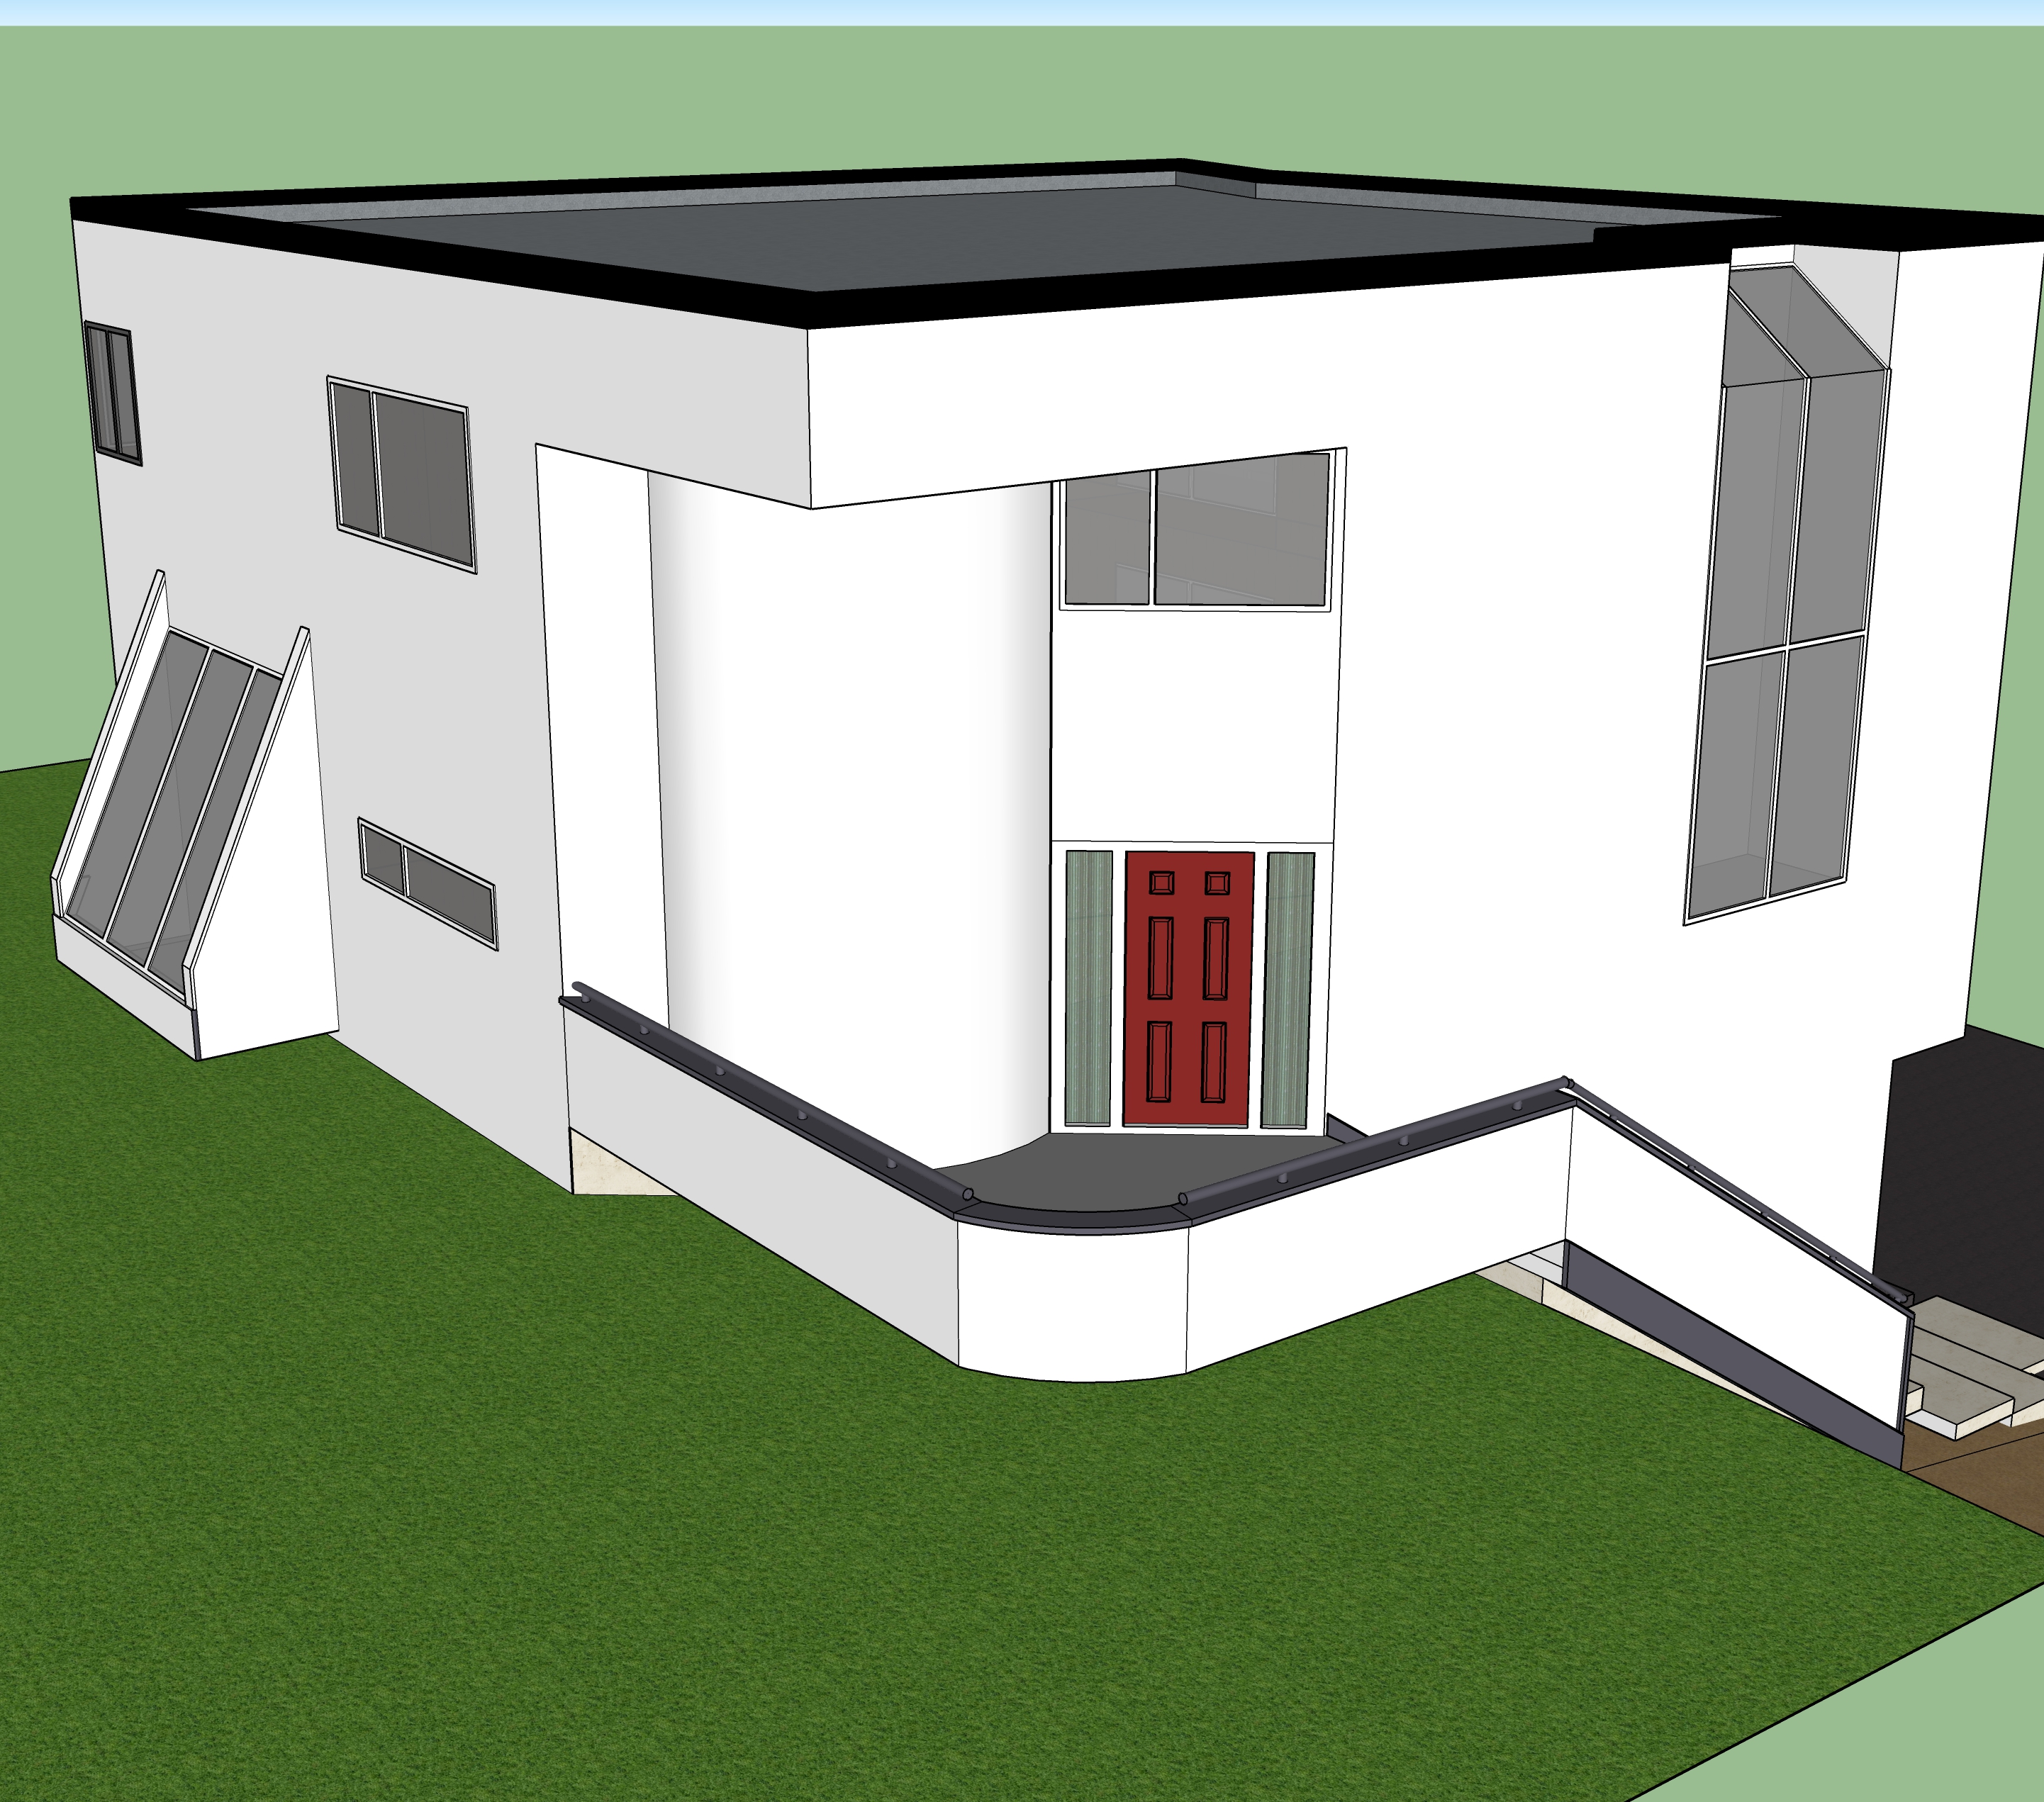 A Synapse designer will site measure and build a 3D model of your home in sketchup. A .skp and .pdf elevation drawings will be transmitted to you. A free version of sketchup is available if you want to view your model in 3D but don’t worry you don’t have to be a “computer person” for this system to work for you. You can also simply print out or view on screen the pdf images.
Step 2. – Your Design Ideas
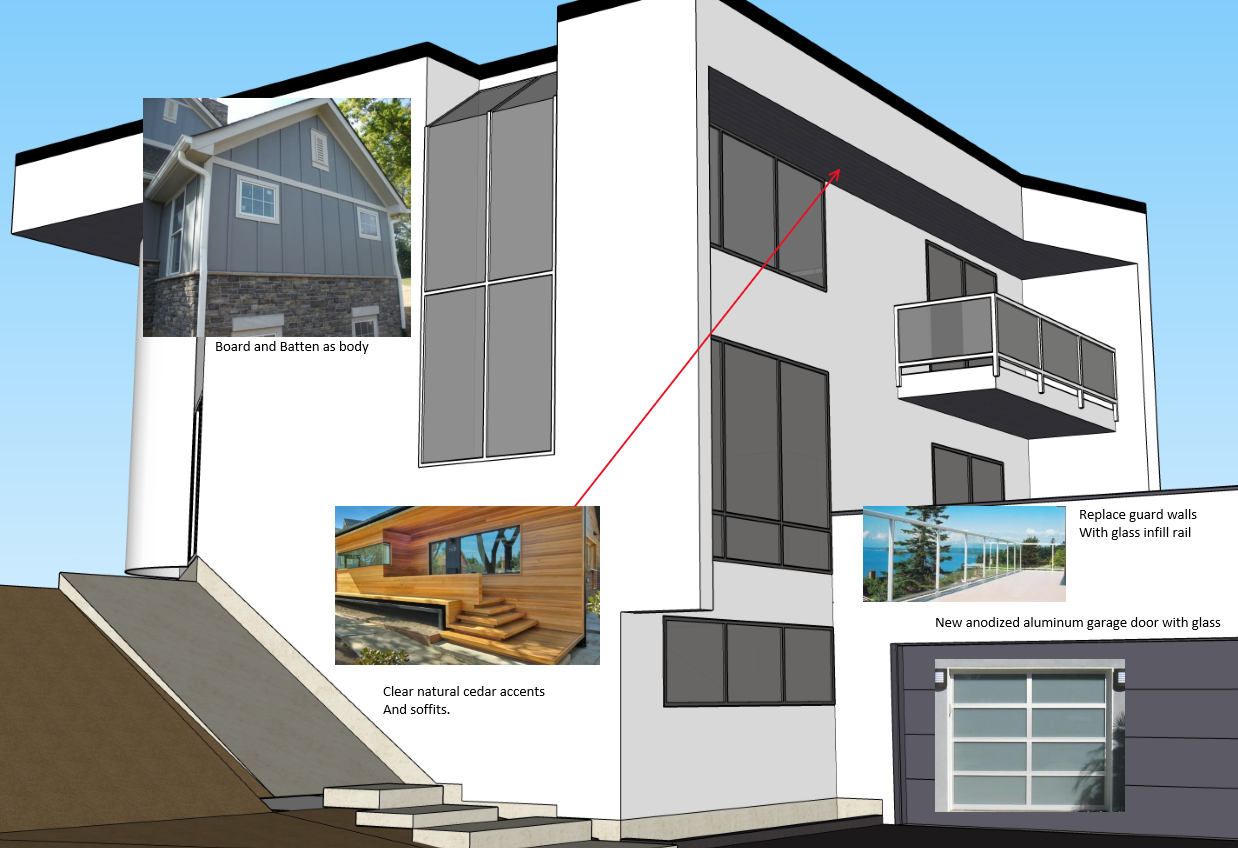 This is where your vision starts taking shape. We want your ideas and you can convey them in any way that is easiest and most efficient for you. For lo-tech design intent sharing we encourage printing the PDFs and pasting magazine clippings or pictures, or any other similar, physical visual sharing technique. If you are more tech-inclined, annotating the pictures or sharing digital scrapbooks works great too. We can also meet and review ideas together for this initial step. Accomplishing this all still possible while observing proper safety for Covid 19, via video chats that can be almost as interactive as meeting in person.
Step 3 – First Design Submittal
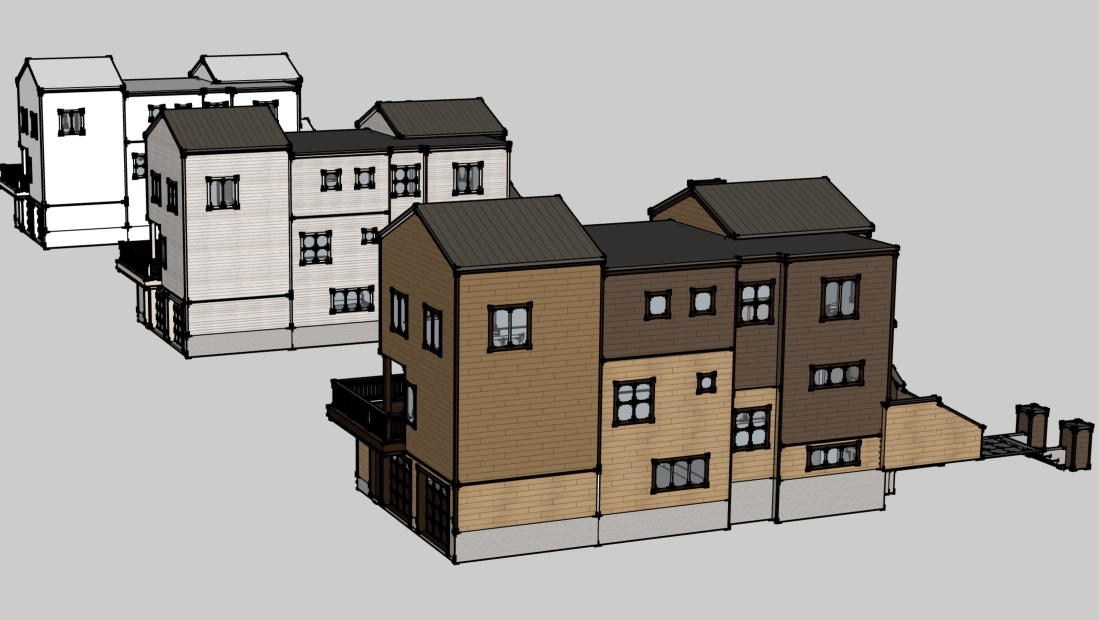 This is the step where things start to take shape. We take the ideas and design intent conveyed in Step 2 and apply them to our 3D model. At this point, we typically provide some alternate choices we think might enhance the design or provide increased performance for your building. We send the electronic files back to you just as in Step 1. We’ll then give you time to explore and marinate on the design for however long you need. You might want to share it with friends or family, get opinions from neighbors or may even get feedback from your HOA. When you are ready, we will have another virtual meeting to discuss different changes or tweaks to the design. Maybe you have an “I didn’t know it would look like that” reaction, and decide you want to move in a completely different direction. That’s okay and that’s why we’re doing this in the first place! From this point, we will take all the tweaks and new ideas back to our design lab for further development.
Step 4 – Final Design Review
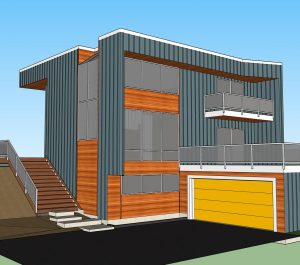 With the revisions and options requested in Step 3, we are typically looking at the final design at this point. If there have been multiple schemes modeled this is the step where we select the final scheme, and discuss last minor adjustments.
Step 5 – Construction Drawings
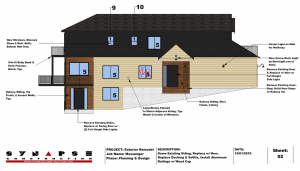 At this point your new exterior design is complete. The final step in the design process is to create construction drawings. Our construction drawings are pdf images of your design with all materials and scope of work labeled. These drawings can be used to get pricing from contractors, vendors etc. Now you’re ready to build it!

